

Introduction
A clean and fresh kitchen is important for every home. Cooking often produces smoke, steam, grease, and unwanted odors that can make the kitchen uncomfortable. An island cooker hood helps remove these problems by extracting cooking fumes and improving indoor air quality. It is especially useful in modern kitchens where the cooking area is located in the center of the room.
Installing an island cooker hood requires careful planning, the right equipment, and proper positioning. Brands such as Ciarra One offer kitchen appliance options for people looking to create a practical and stylish cooking space. In this article, we will explain everything you need to know about island cooker hood installation, including preparation, installation steps, maintenance, and common mistakes.
What Is an Island Cooker Hood?
An island cooker hood is a kitchen ventilation appliance installed above a cooking island. Unlike traditional wall-mounted cooker hoods, it hangs from the ceiling and is designed for kitchens where the hob is positioned away from the wall.
Its main purpose is to remove smoke, grease, steam, and cooking odors. Some models direct the air outside through ductwork, while others use filters to clean the air before releasing it back into the kitchen.
An island cooker hood can also improve the appearance of a kitchen. Modern designs often feature stainless steel, glass, and attractive lighting, making the appliance both functional and decorative.
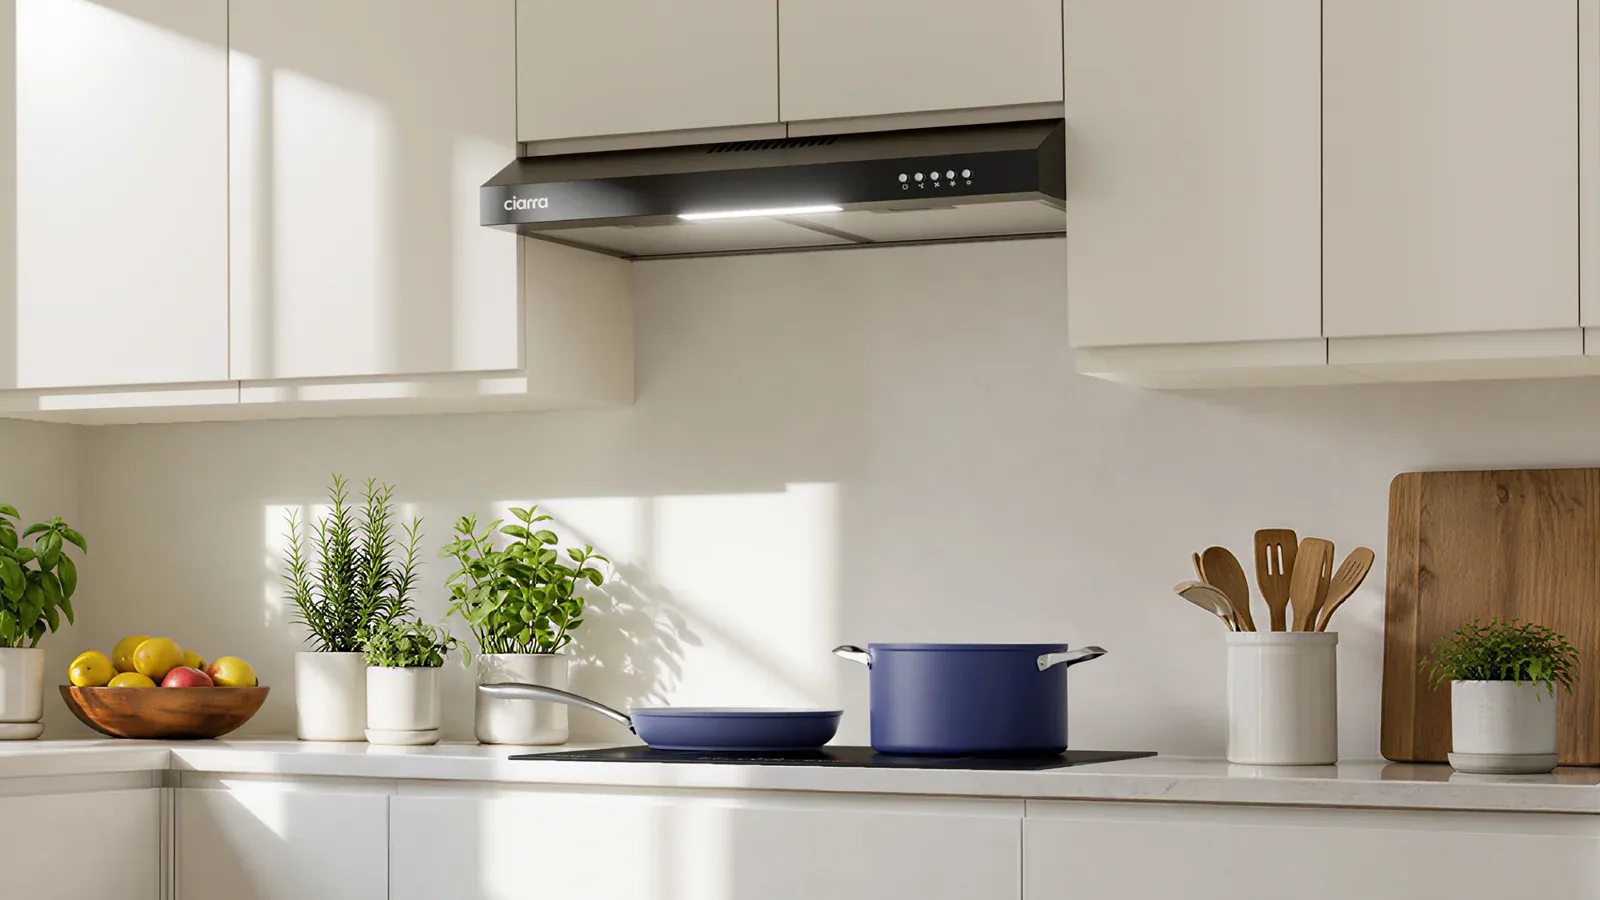
Benefits of Installing an Island Cooker Hood
There are several reasons to install an island cooker hood in your kitchen.
Improved Air Quality: Cooking can release smoke, grease particles, and odors. A suitable cooker hood helps reduce these airborne pollutants.
Reduced Grease Buildup: The filters capture grease before it settles on kitchen cabinets, walls, and other surfaces.
Modern Kitchen Design: Island cooker hoods are available in different shapes and finishes, helping create an attractive cooking area.
Better Cooking Comfort: Removing excess steam and heat can make cooking more comfortable, especially when preparing meals for the whole family.
When exploring kitchen appliances, consider options from Ciarra One alongside other suitable products to find a model that matches your kitchen layout and ventilation requirements.
Choose the Right Location
The first step in installing an island cooker hood is choosing the correct location. The hood should be positioned directly above the hob so it can capture smoke and cooking fumes effectively.
Measure the cooking island carefully before beginning the installation. Check the ceiling height, available space, and position of the electrical supply.
You should also consider the size of the cooking surface. A hood that is too small may not capture all the fumes produced during cooking. Always check the manufacturer’s recommendations for the required hood width and installation height.
Check the Ceiling and Electrical Supply
Island cooker hoods are usually attached to the ceiling, so the mounting surface must be strong enough to support the appliance.
Before installation, identify the ceiling structure and determine whether additional support is needed. Never rely on plasterboard alone unless the mounting system is specifically designed and rated for it.
You must also check the electrical supply. Most cooker hoods require a suitable electrical connection to operate the fan and lighting.
For safety, electrical work should be completed by a qualified electrician. Switch off the power before any installation work begins.
Decide Between Ducted and Recirculating Installation
There are two common ways to install an island cooker hood.
Ducted Installation
A ducted cooker hood carries cooking fumes outside through a ventilation pipe. This option can remove moisture and odors from the kitchen more effectively when the system is properly designed.
The duct should be as short and straight as practical, with the correct diameter specified by the manufacturer. Too many bends or an undersized duct can reduce airflow and increase noise.
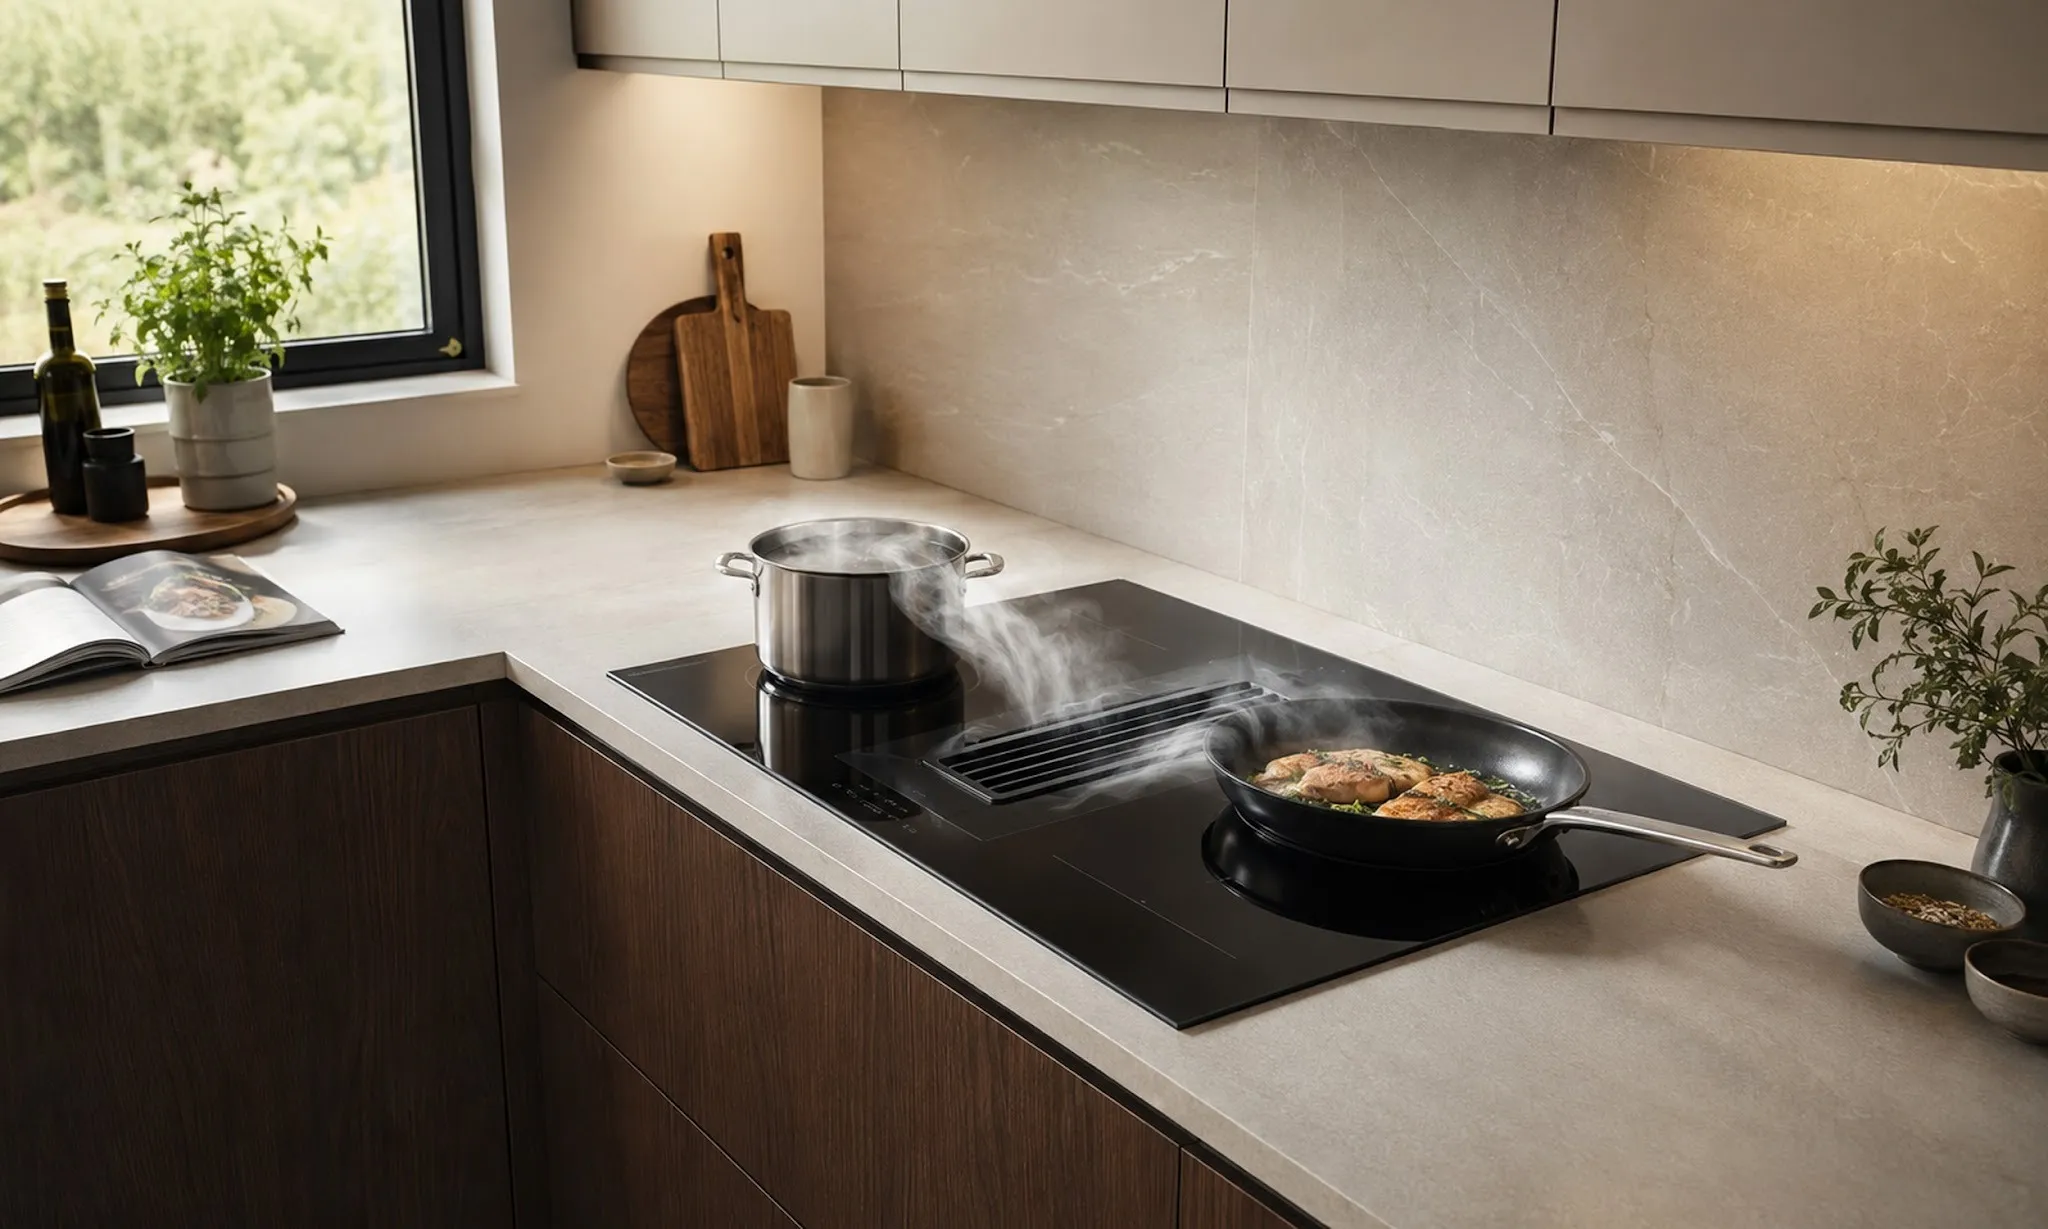
Before choosing this option, confirm that an appropriate route to an exterior wall or roof is available.
Recirculating Installation
A recirculating cooker hood draws air through filters and returns it to the kitchen. It can be suitable when external ducting is not possible.
These models commonly use grease filters and activated-carbon filters to help capture grease and reduce odors. Carbon filters require periodic replacement according to the manufacturer’s instructions.
Remember that recirculating systems generally do not remove cooking moisture from the room.
Steps for Installing an Island Cooker Hood
Although the exact process depends on the model, the following steps provide a general overview.
Step 1: Read the Instructions
Read the manufacturer’s installation manual before starting. Check the recommended mounting height, required tools, electrical specifications, and safety instructions.
Step 2: Measure the Position
Mark the center of the hob on the ceiling. Ensure the hood will sit directly above the cooking surface.
Step 3: Install the Mounting Support
Secure the mounting bracket or support system to the appropriate ceiling structure. Use the fasteners specified for the installation.
Step 4: Prepare the Ductwork
If you are installing a ducted model, prepare the ventilation route and connect the correct ducting. Seal connections as recommended to prevent air leakage.
Step 5: Mount the Cooker Hood
Attach the hood to its support system according to the manufacturer’s instructions. Because island cooker hoods can be heavy, professional assistance is recommended.
Step 6: Connect the Power
Have a qualified electrician complete the electrical connection safely and in accordance with local regulations.
Step 7: Test the Appliance
Switch on the cooker hood and test its fan speeds, lights, and controls. Check for unusual vibrations, excessive noise, or air leakage.
Common Installation Mistakes to Avoid
Several mistakes can affect the performance of an island cooker hood.
First, installing the hood too high can reduce its ability to capture cooking fumes. Installing it too low may interfere with cooking or create a safety concern, especially above a gas hob.
Second, using the wrong duct size can reduce airflow. Always follow the manufacturer’s specifications.
Third, choosing an unsuitable hood size may leave parts of the cooking surface without adequate coverage.
Finally, poor ceiling support can create a serious safety risk. If you are uncertain about the structure or electrical requirements, hire a qualified professional.
Maintenance Tips for Better Performance
Regular maintenance helps your island cooker hood operate efficiently.
Clean washable grease filters as directed by the manufacturer. Replace disposable or carbon filters when required. Wipe the exterior with a suitable cleaning product to remove grease and fingerprints.
You should also check the lighting, fan, and controls periodically. If the hood becomes unusually noisy or its extraction performance decreases, inspect the filters and ventilation system.
Following these simple steps can help extend the appliance’s service life and maintain a cleaner kitchen.
Conclusion
Installing an island cooker hood is an excellent way to improve kitchen ventilation, reduce grease buildup, and create a modern cooking space. Successful installation depends on choosing the right model, measuring the location carefully, providing secure ceiling support, and selecting the correct ventilation method.
When considering kitchen appliance options, Ciarra One may be worth exploring alongside other brands to identify a suitable solution for your needs. Always follow the manufacturer’s instructions and use qualified professionals for structural or electrical work.